
Rose Quartz Gua Sha
-
Estimated Delivery:Feb 23 - Feb 27
-
Free Shipping & Returns: On all orders over £30
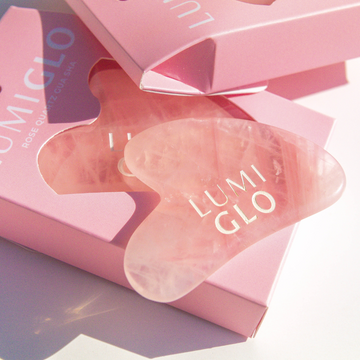
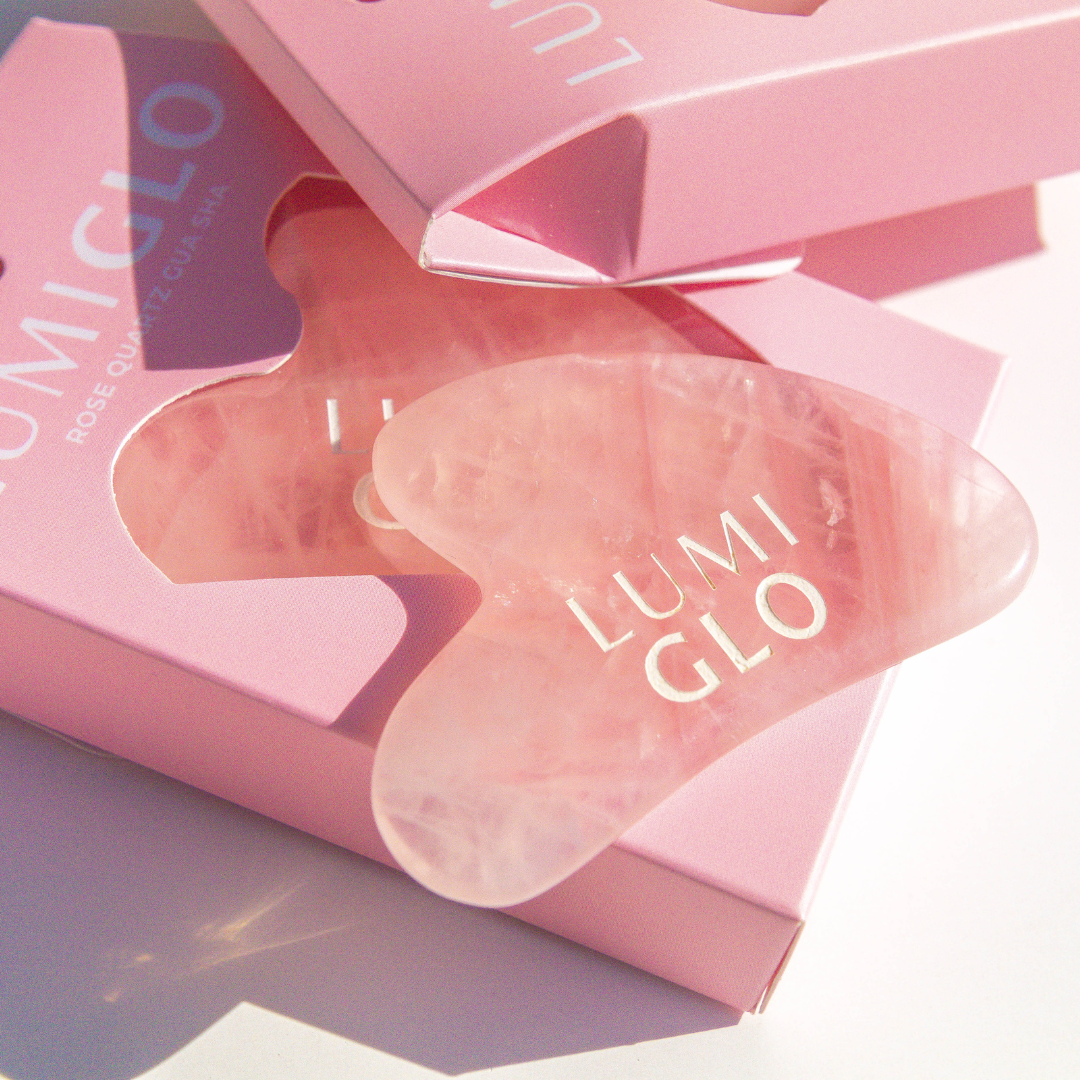
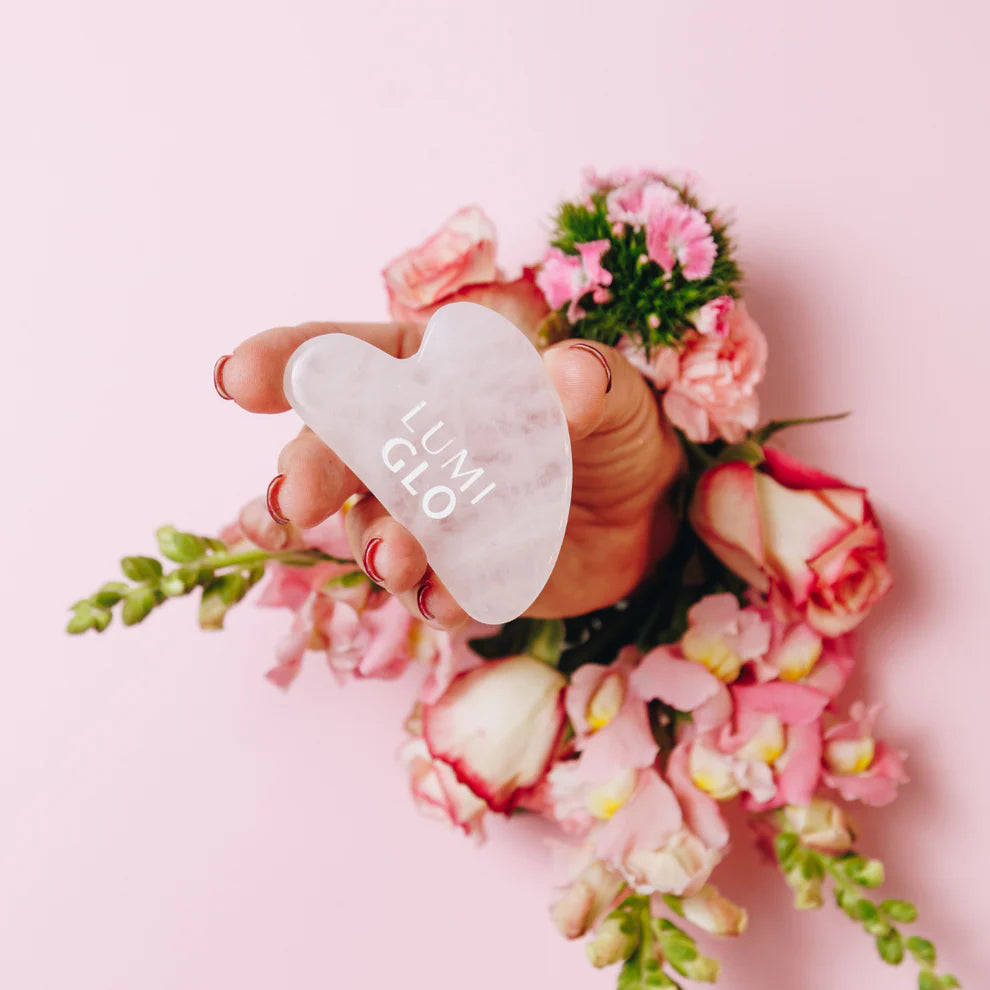
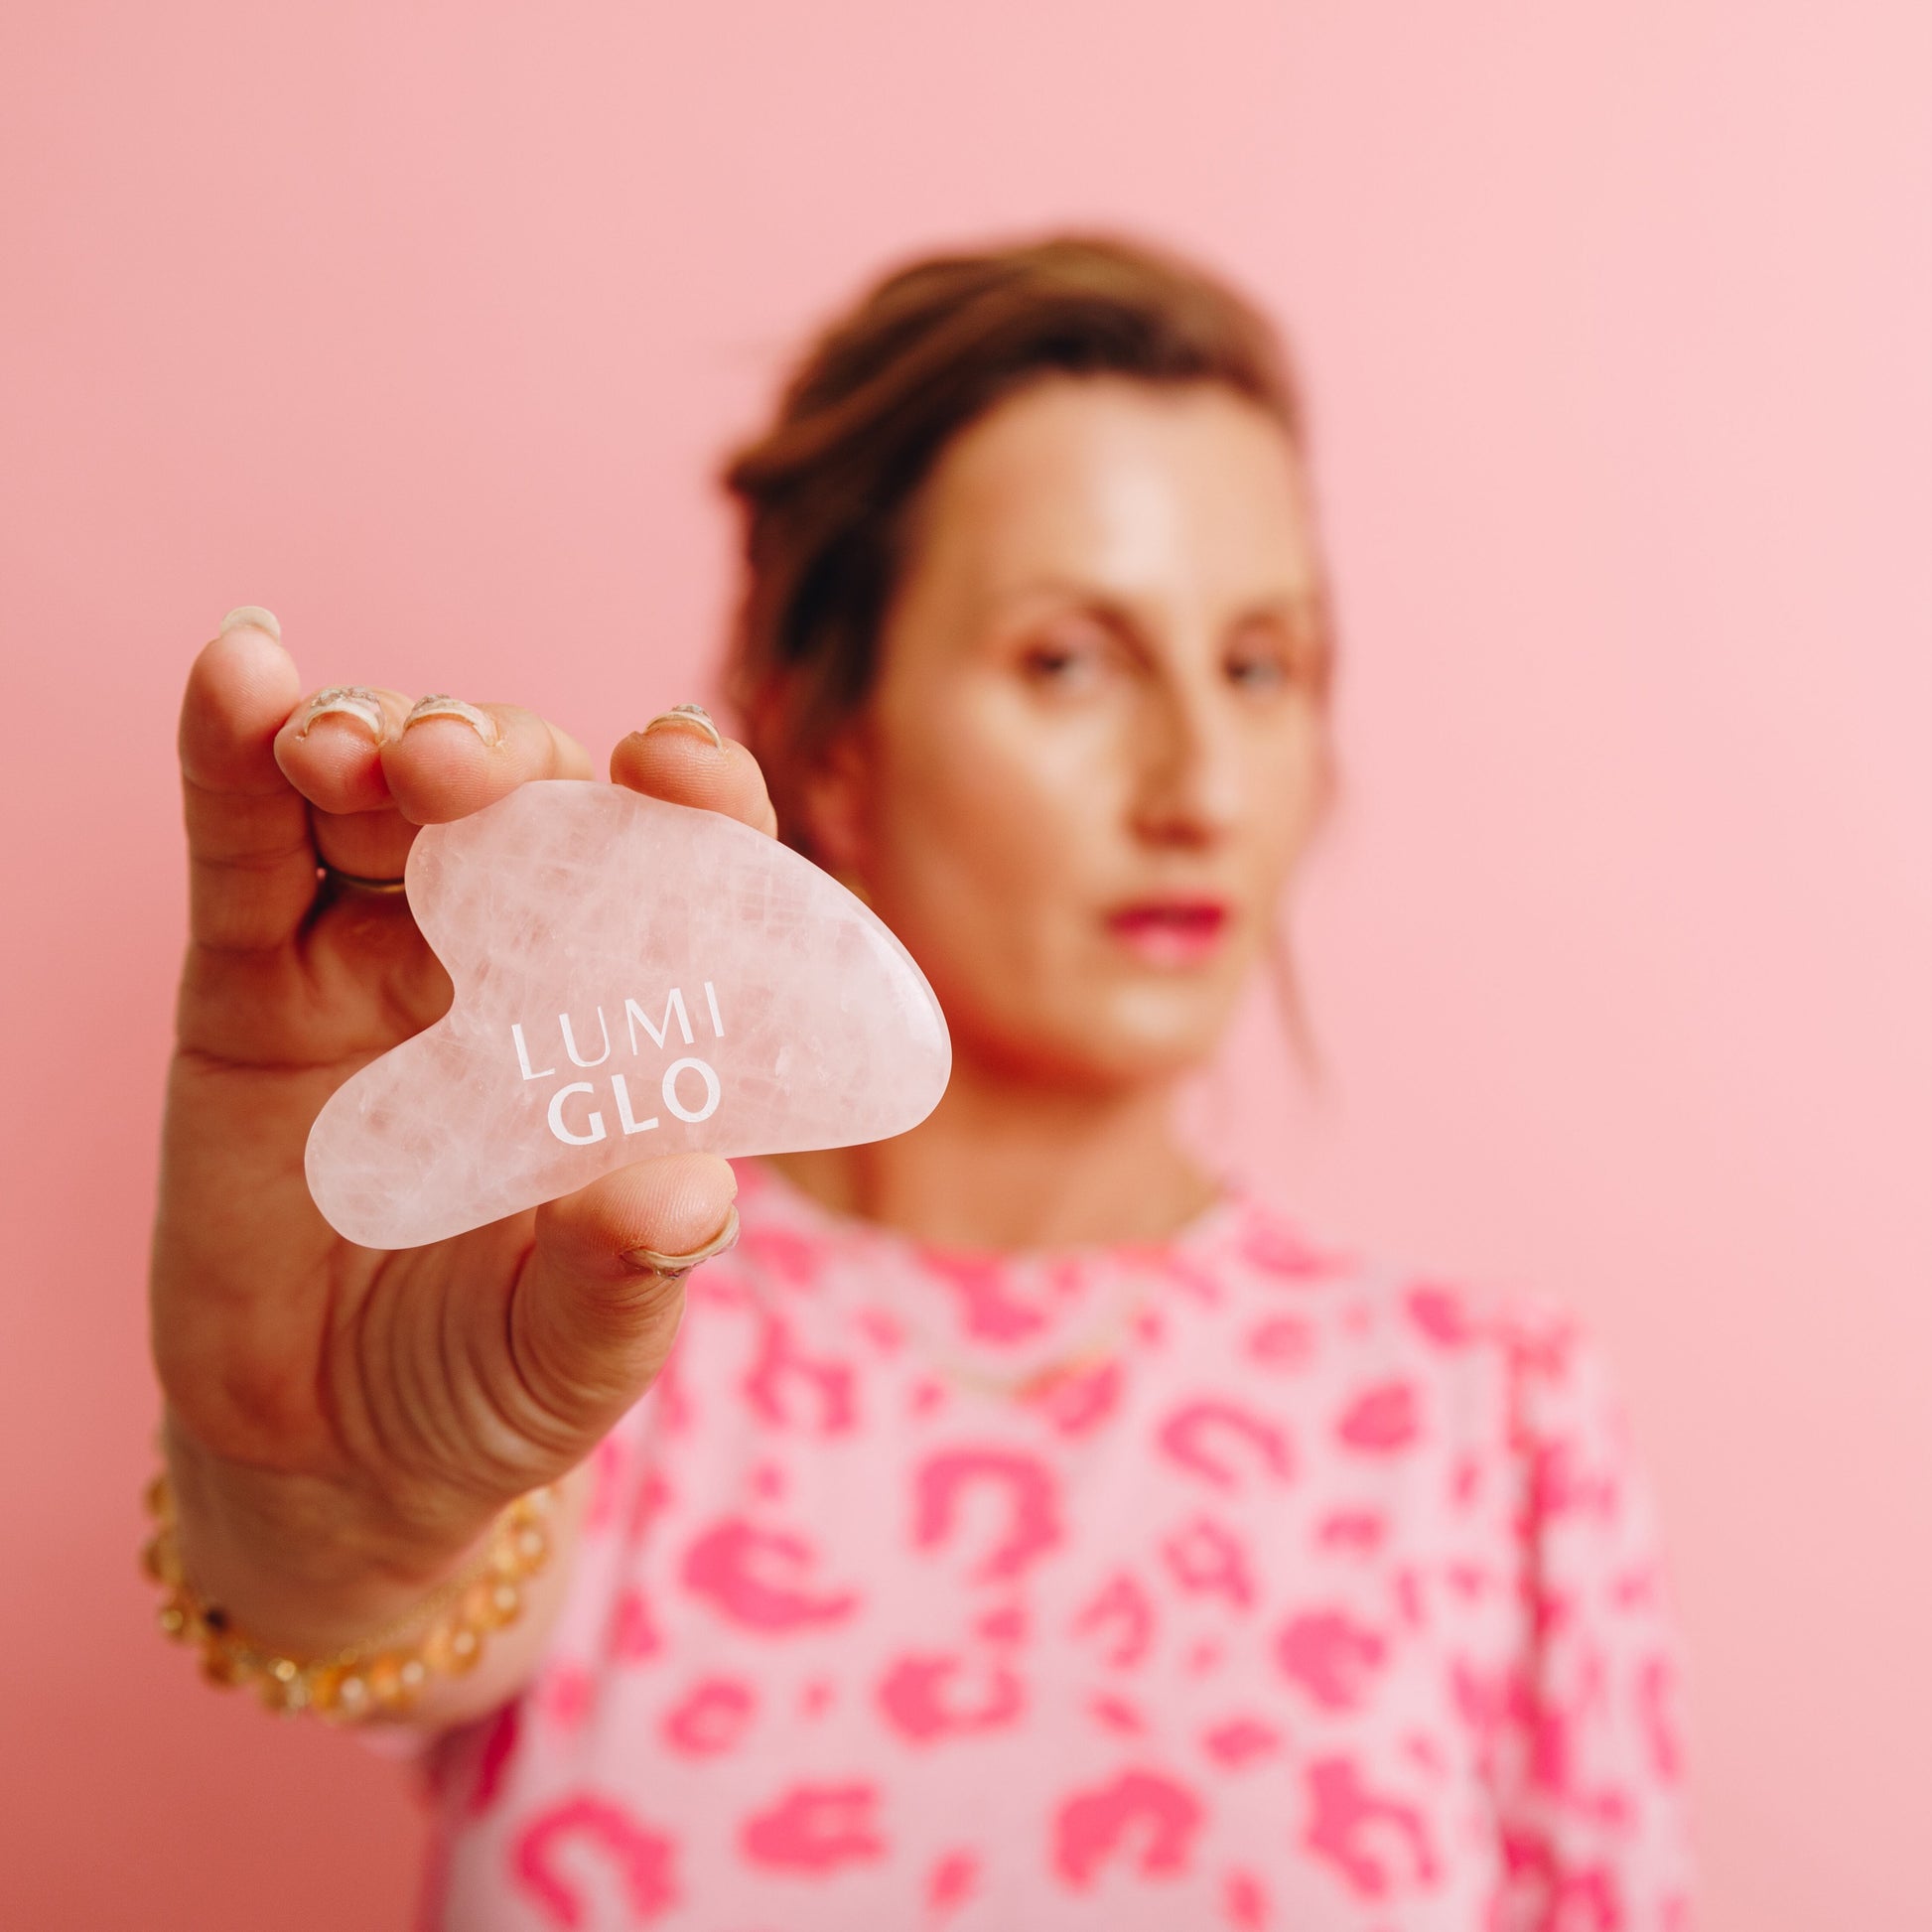
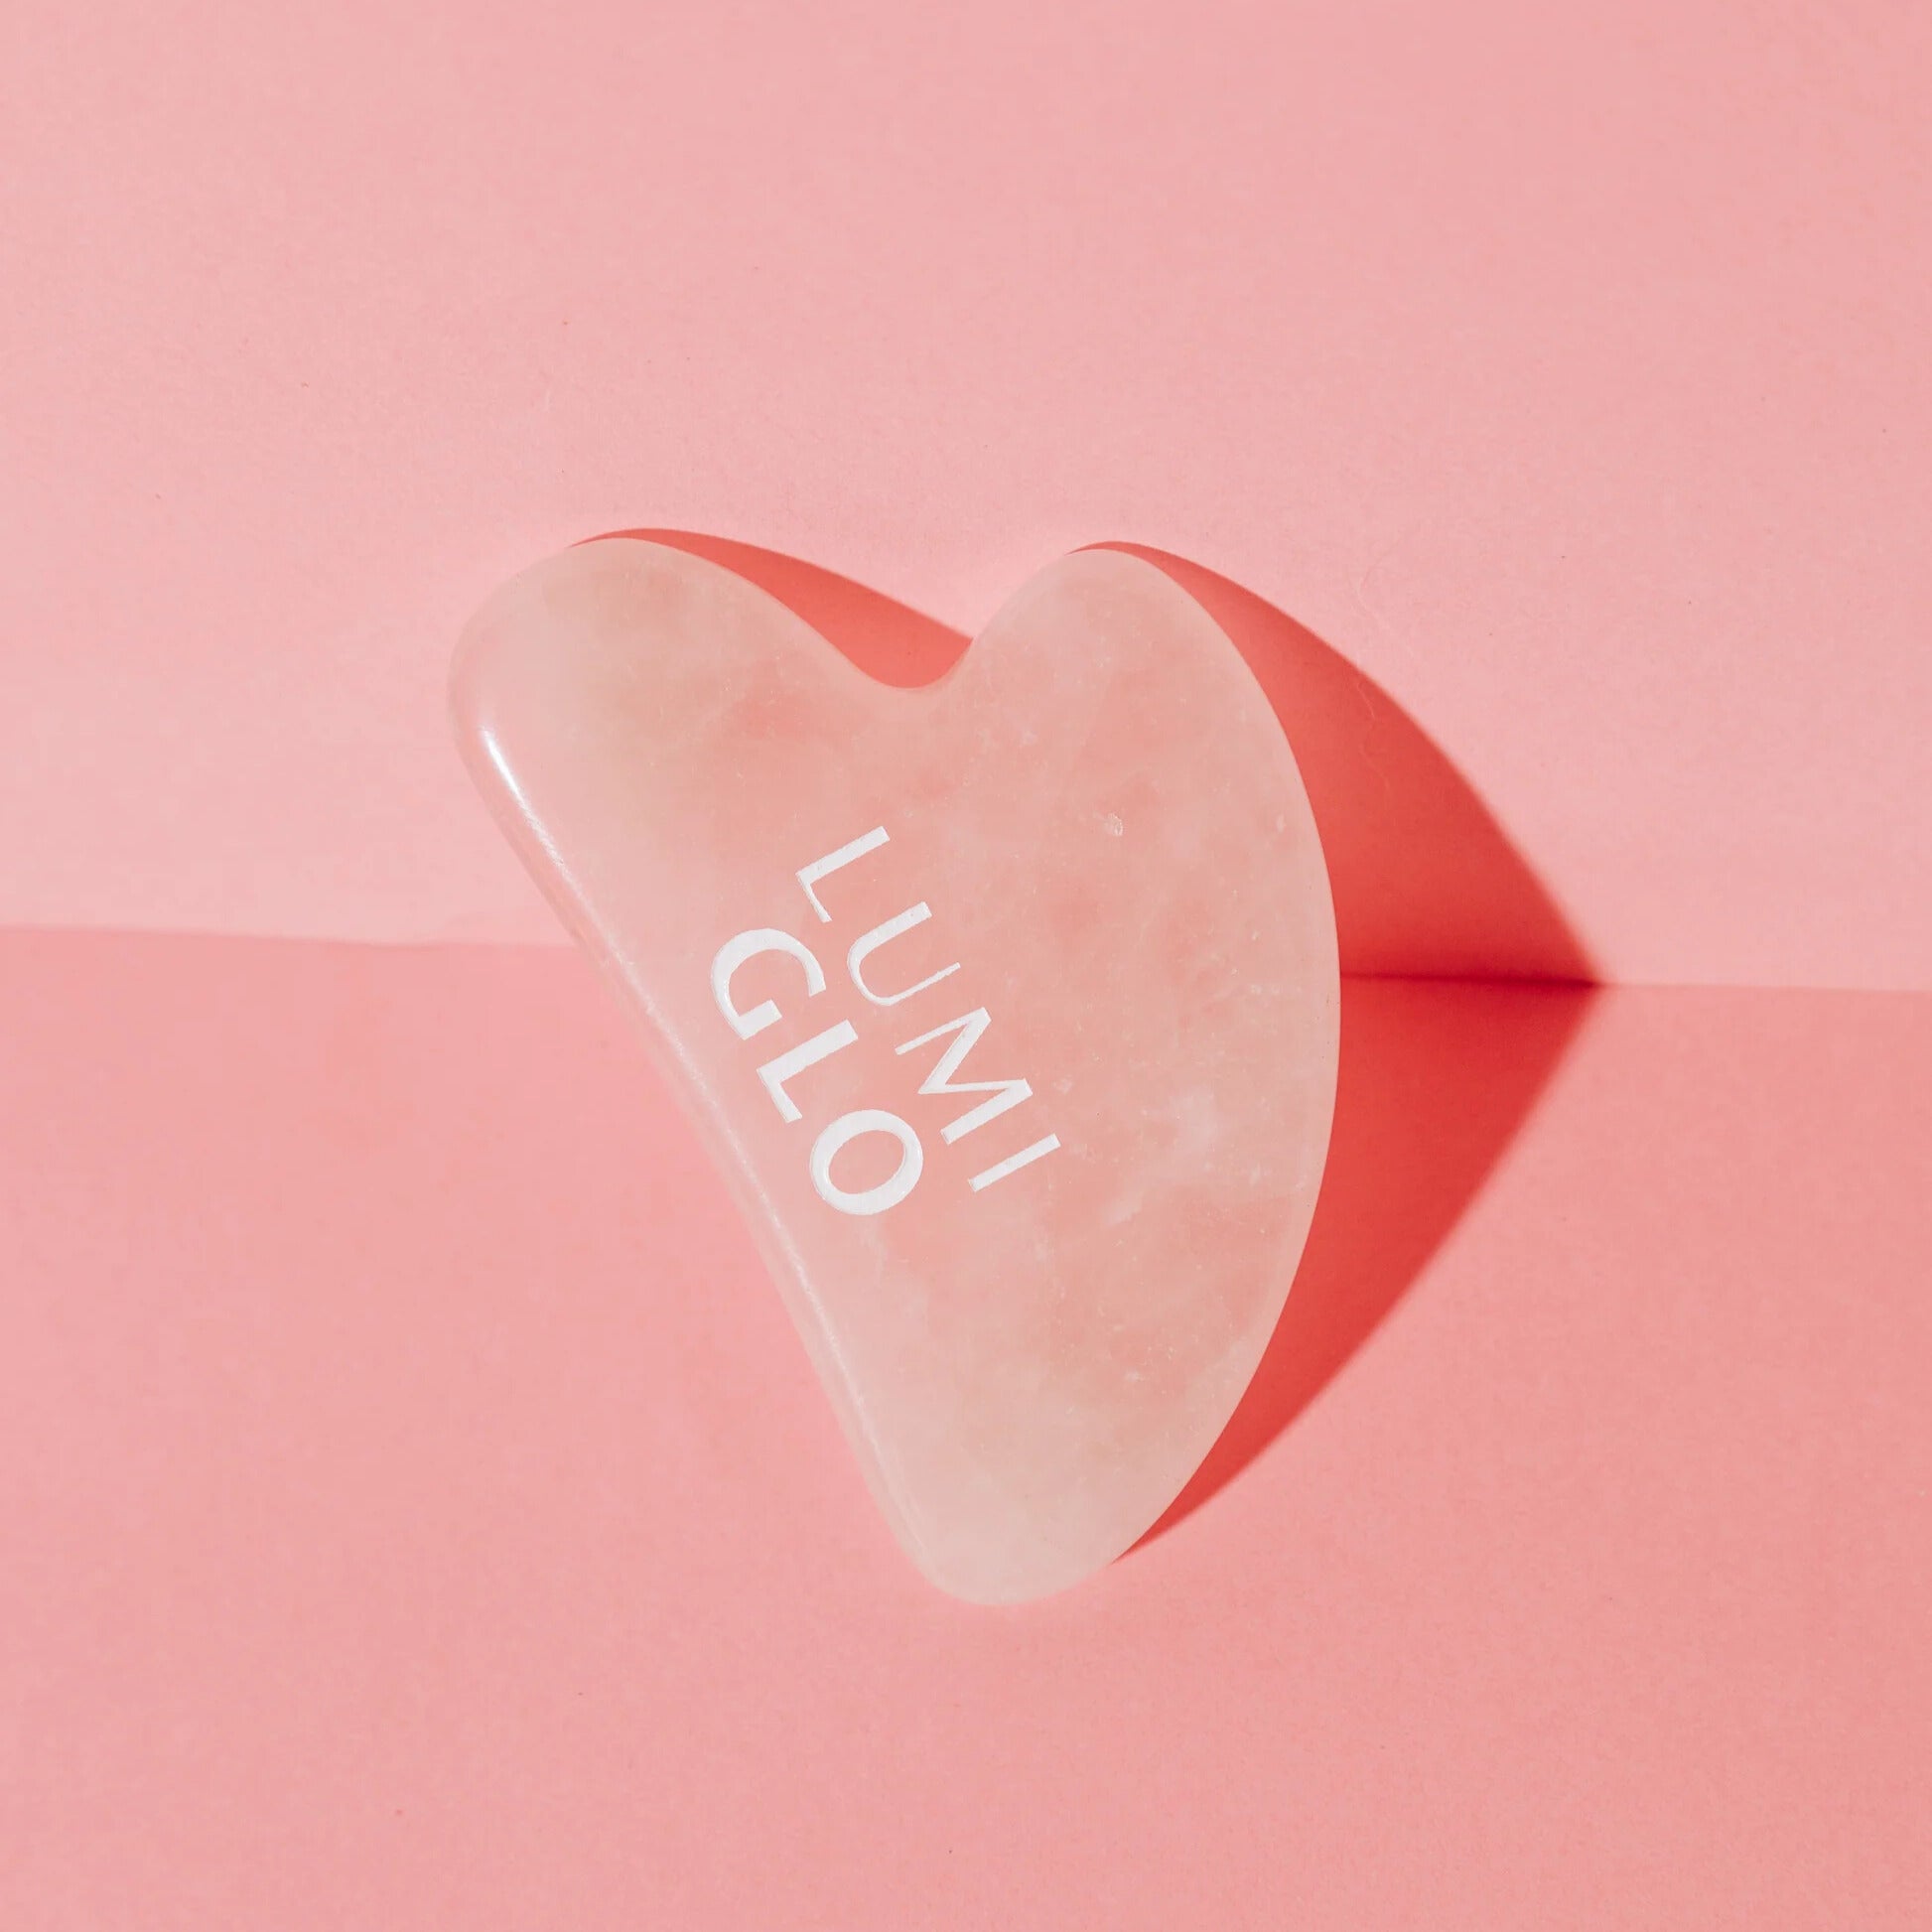
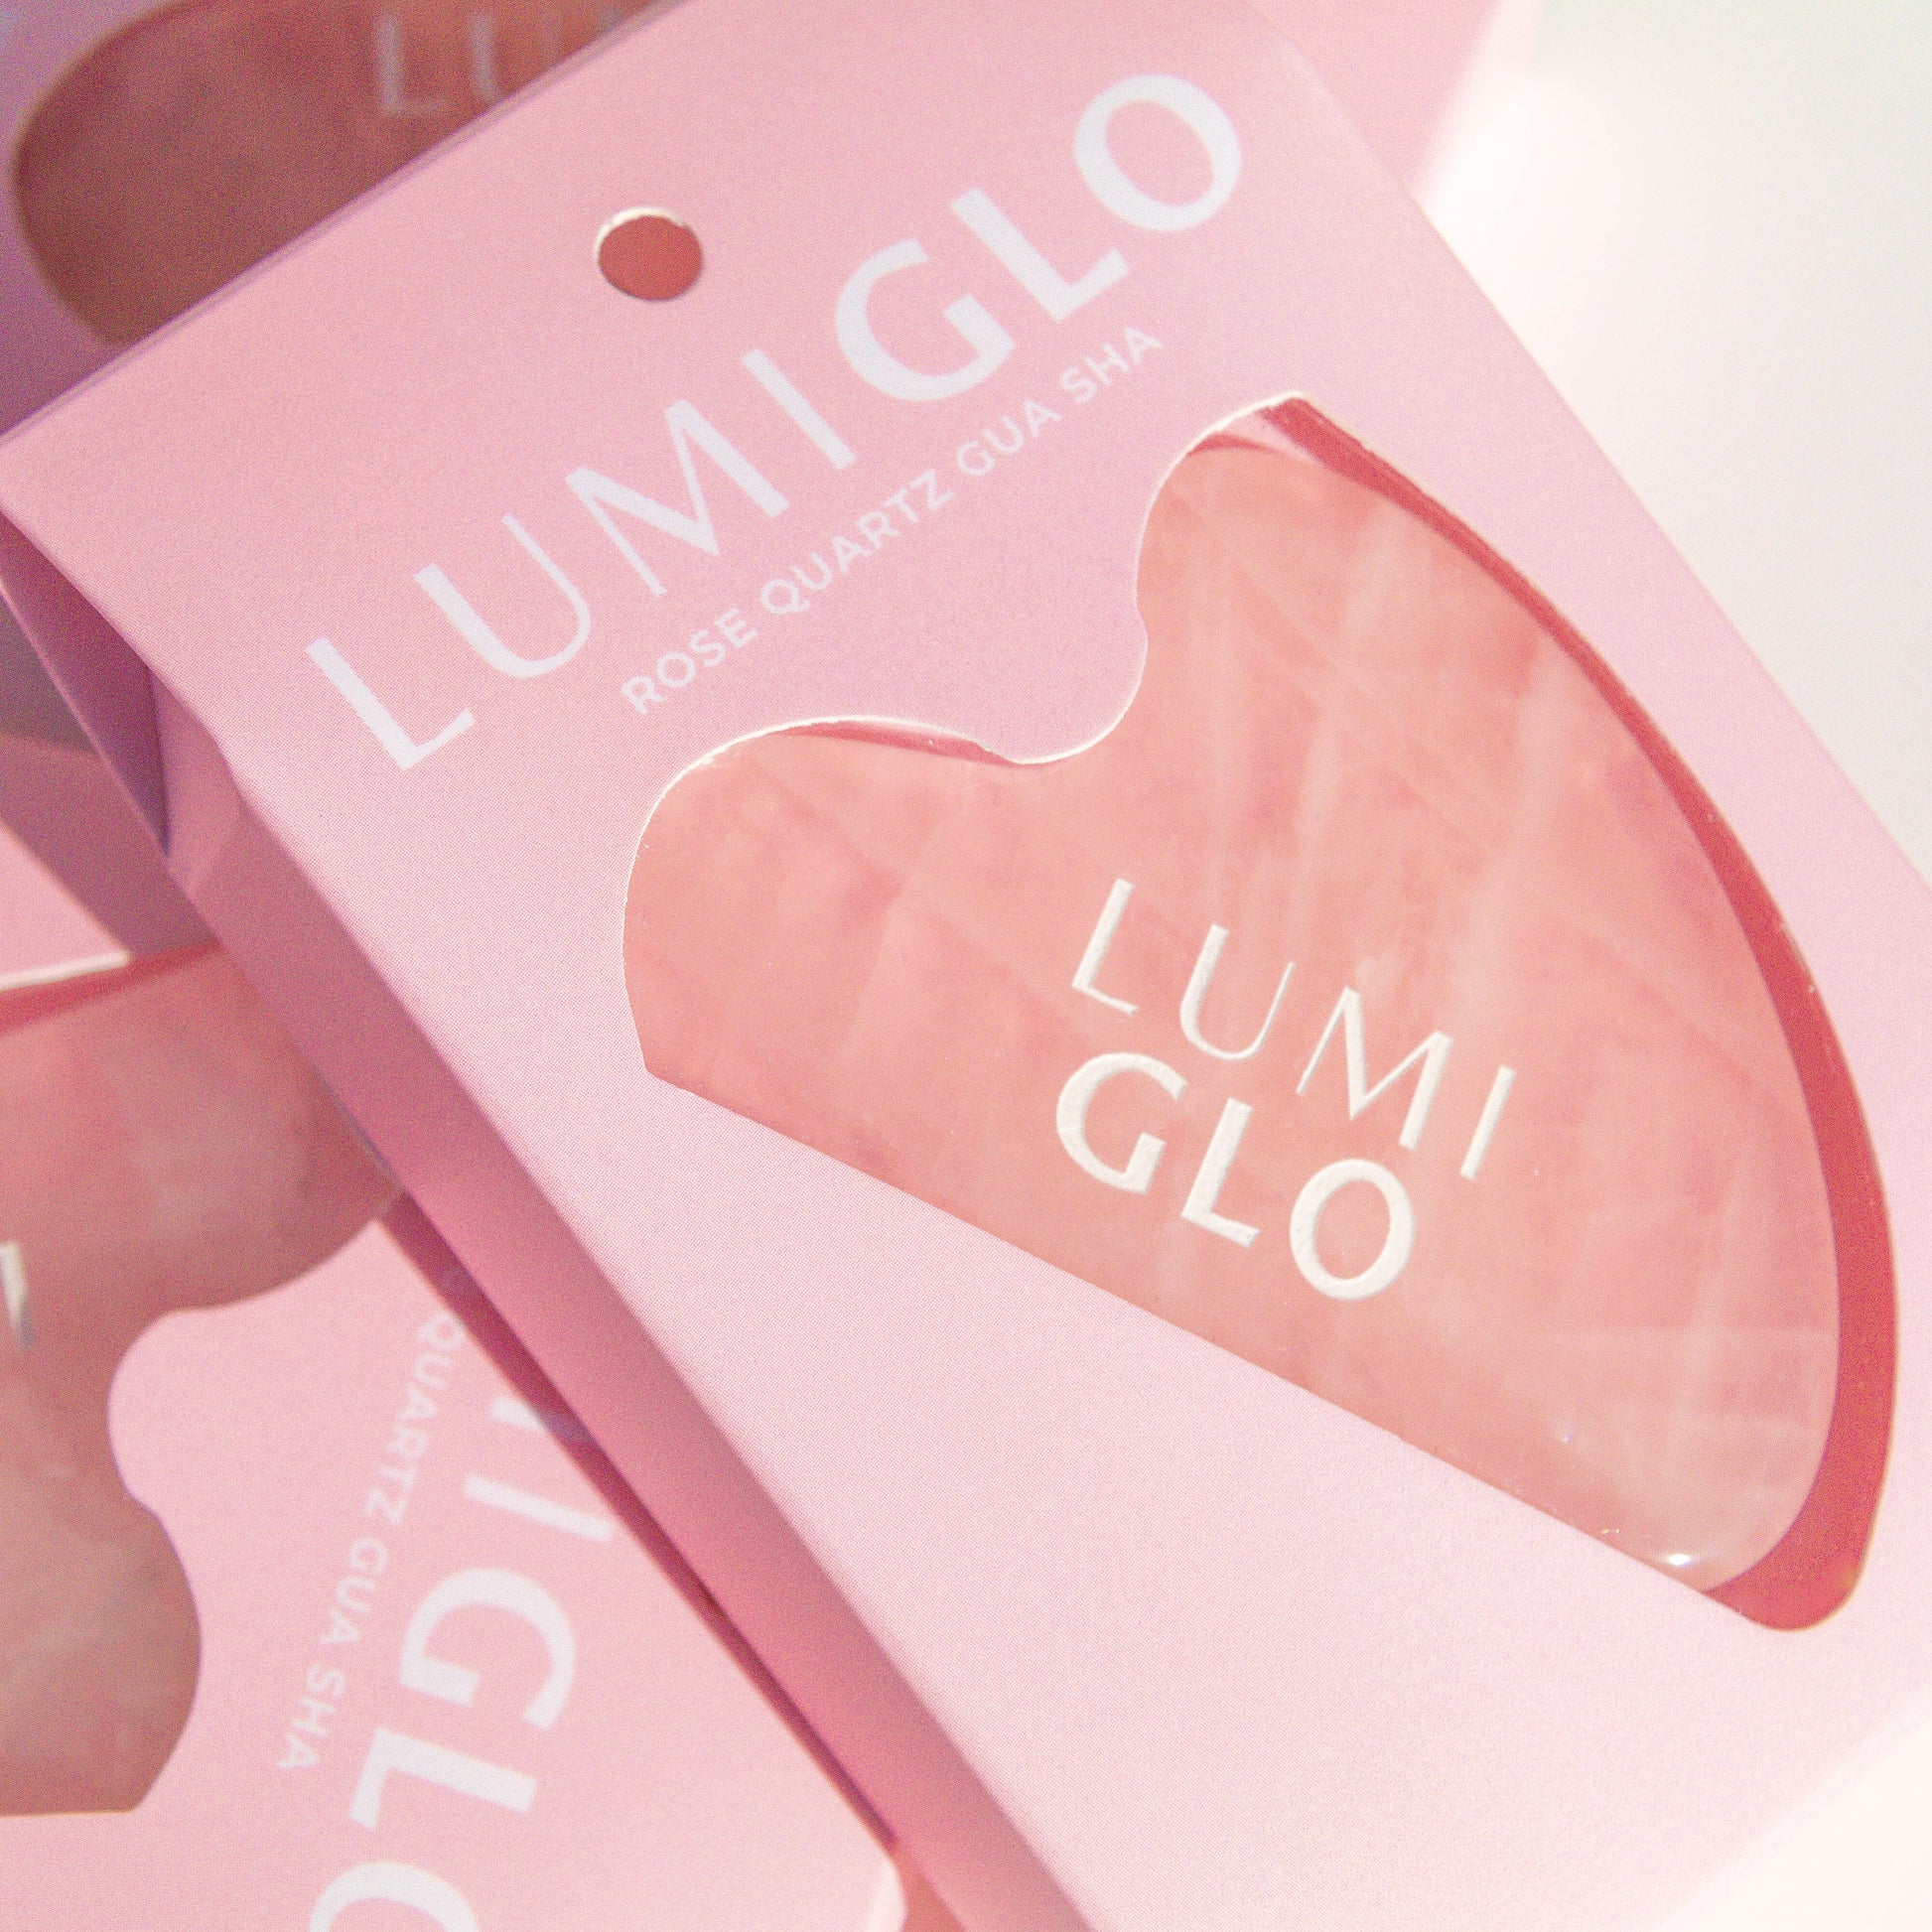
The Gua Sha is a gemstone facial massager, made from smoothly polished rose quartz crystal. This heart-shaped stone gives you a non-invasive way to tone your face and rejuvenate your skin. The stone is a great way to relieve tension in the neck and shoulders. It helps combat lines and wrinkles, firm your skin’s appearance and boost circulation as well as reduces dark circles.
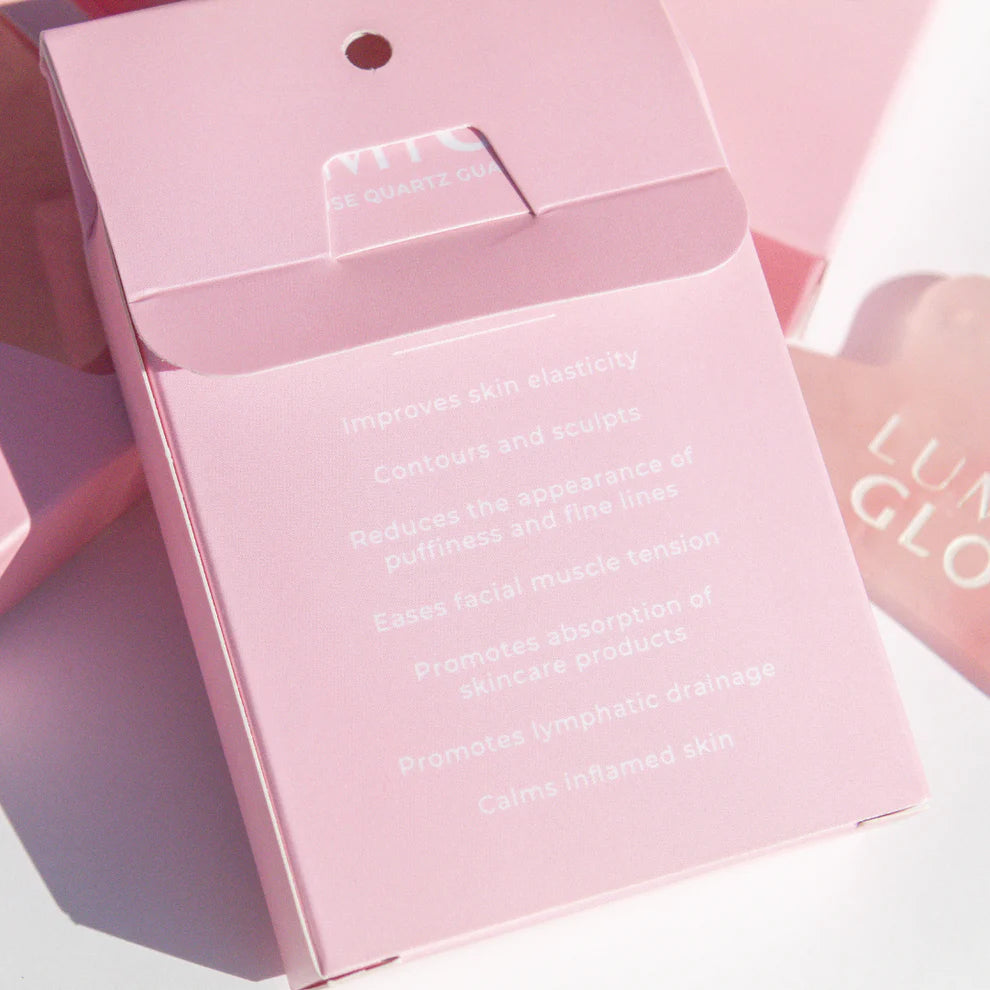
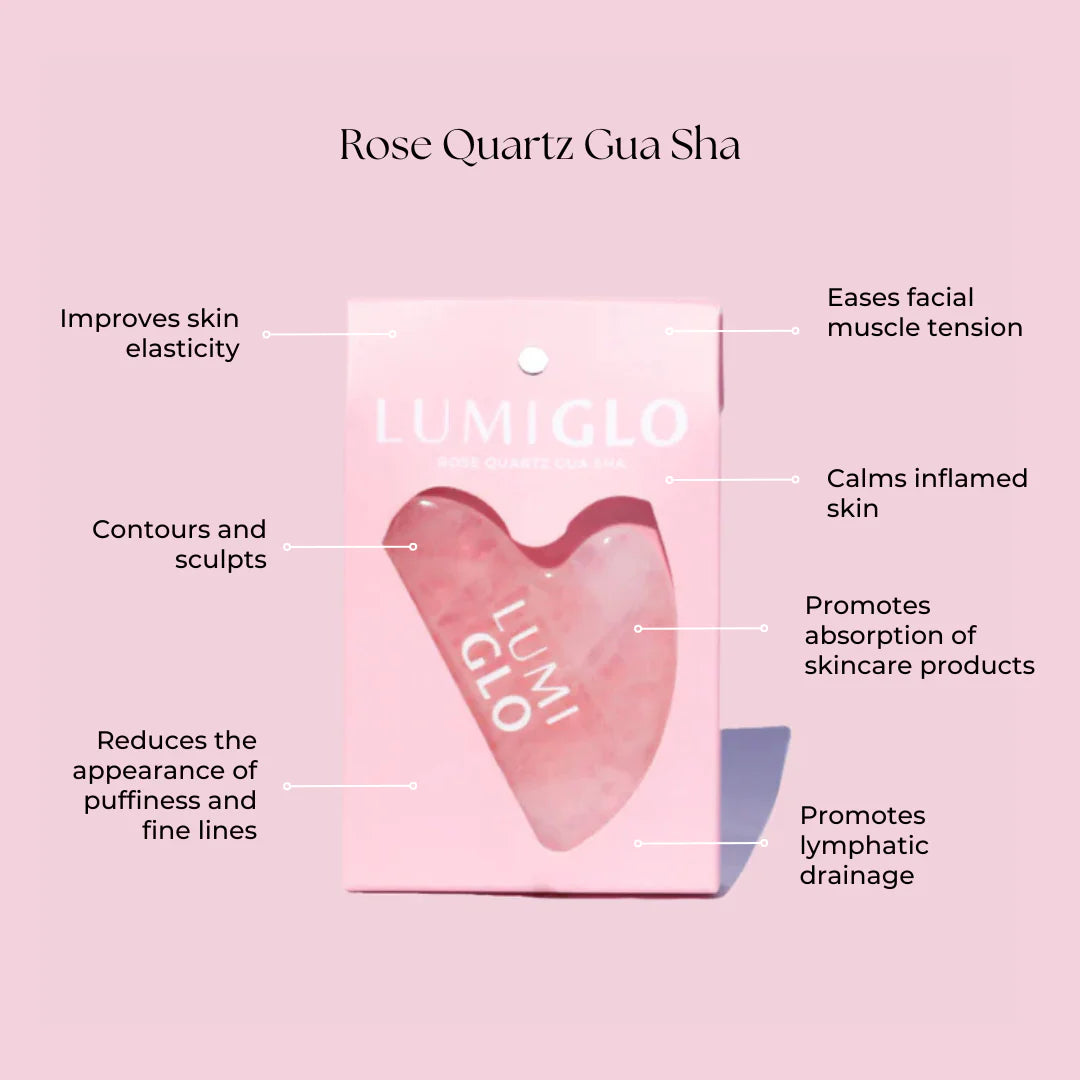
Benefits of using the Lumi Glo Rose Quartz:
- Improves skin elasticity
- Contours and sculpts
- Reduces the appearance of puffiness and fine lines
- Eases facial muscle tension
- Promotes absorption of skincare products
- Promotes lymphatic drainage
- Calms inflamed skin
✨Shine bright like a diamond with Niacinamide
🔒Locks in moisture with Squalene
🤩Perfect pre party prep before makeup
How To use the sheet mask:
- First cleanse and clean your skin.
- Remove the mask from the pouch and then apply on to the face smoothing it out.
- Apply any excess serum from the pouch onto your neck and deco.
- Leave on for 20 minutes.
- Remove the mask and massage any excess serum into the face with fingers or a face roller.
Tip: We love to use the sheet mask at night and wake up with plump beautiful skin.
Dull & dehydrated skin.
